Homemade Pinata Rabbit Toy
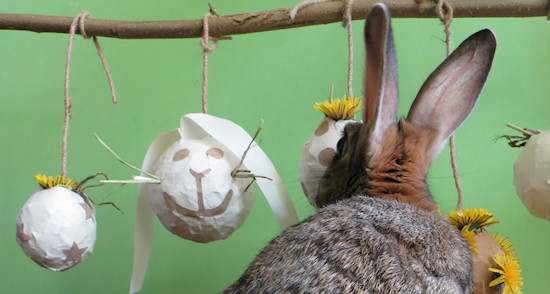
A few weeks ago the National Office of Animal Health (NOAH) asked if I’d be interested in contributing a craft project to their ‘I Heart My Pet‘ campaign. If you read regularly I’m sure by now you know I love making new toys for Scamp to play with and I’ve had an idea percolating in the back of my mind for a little while and this seemed the ideal opportunity. So I give you: Bunny Pinatas.
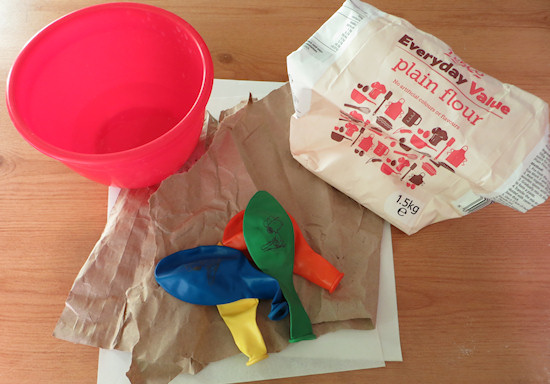
You will need:
- Thin paper e.g. brown paper packing or paper bags
- A bowl of water
- Flour
- Balloons
Step 1 – Blow up balloons
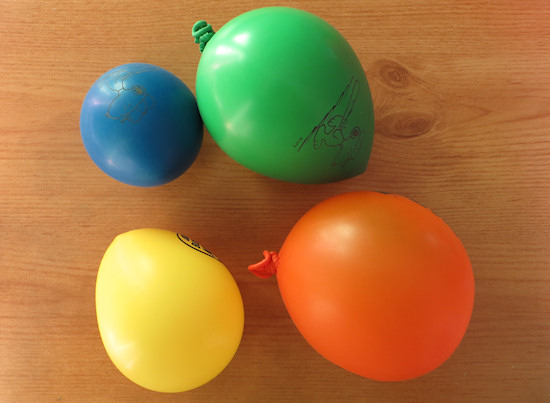
The balloons are just templates so the colour doesn’t matter – if fact you’re going to pop it later so don’t pick anything too nice! Blow them up to the size you want your finished pinata to be. I went for chicken egg to small melon but there is no reason you couldn’t go for a giant size one if you want (though it will take a little longer to make).
Step 2 – Shred Your Paper
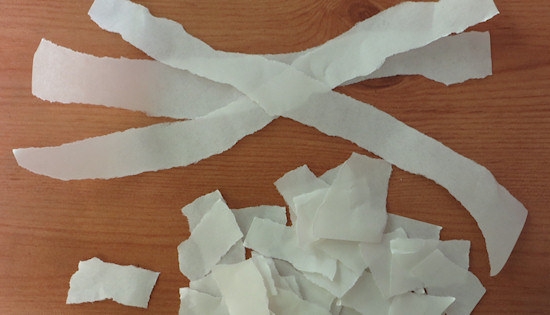
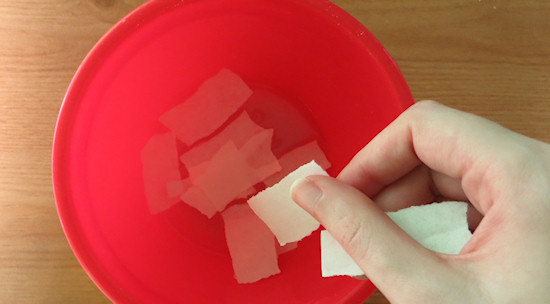
Shred your paper into pieces, mine are about 1″ wide and 1.5″ long. Smaller pieces work better on smaller balloons (as they fit around the curve better), if you’re going for a giant pinata you could get away with slightly bigger. You don’t need to be too precise though, in fact you could just leave this task to your rabbit (Scamp is an excellent shredder).
Step 3 – Turn it into Papier Mache
Take your bowl of water, add a pinch of flour and stir. That’s it. You don’t need much flour at all. You might need to restir the mix now and then whilst you’re working as it seems to settle out if left. Then add some of the shredded paper and leave it a minute or two to soak.
Note: Flour is perfectly safe for bunnies to lick/eat, if you check your rabbit’s pellet food or store bought treats wheat is often on the ingredients. Scamp notes it doesn’t have any effect on his desire to eat the paper either.
Step 4 – Apply paper to balloon
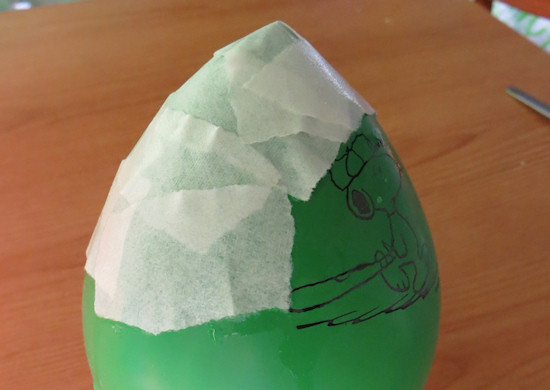
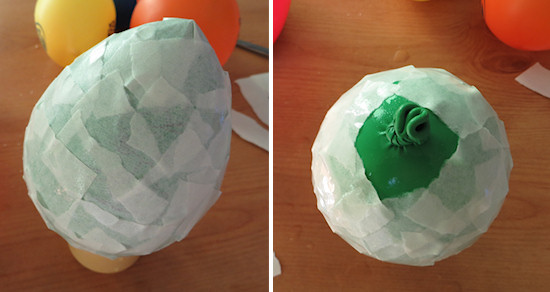
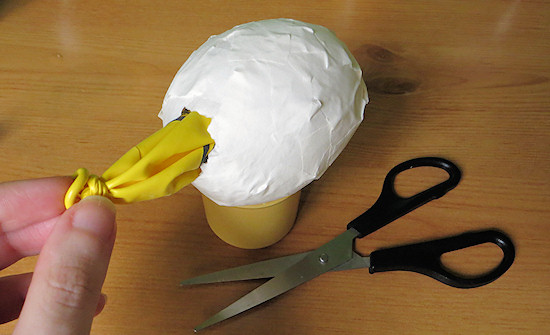
This parts when it gets a big messy!Take your soggy pieces of paper and apply them to the balloon, they should stick in place quite easily. You want to slightly overlap each piece (don’t try and match the edges). Leave a little gap around the balloons knot, that’s where you’ll stuff the pinata latter.
Pro Tip: Put the balloon in an egg cup to hold it steady so it doesn’t roll off the table and get covered in carpet fluff (or bunny fluff).
Step 5 – Leave to Dry
Once your balloon is covered with the first layer, you need to leave it to dry out. It shouldn’t take too long – overnight at most. You can speed the process by leaving it somewhere warm like near a radiator.
Step 6 – Repeat Steps 4&5
Once your balloons are dry, it’s time for a second coat. Do exactly the same thing again. Depending how sturdy you want your pinata to be you can add a third layer if you like. I found two was fine but it ripped up quite easily.
Step 7 – Pretty it up
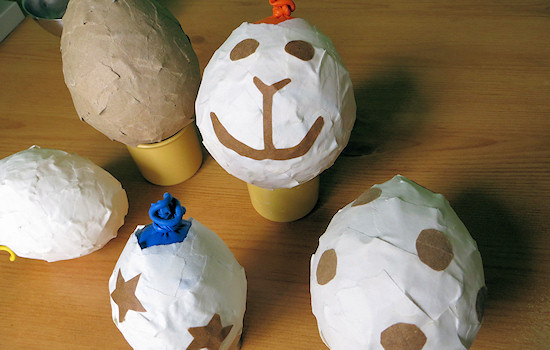
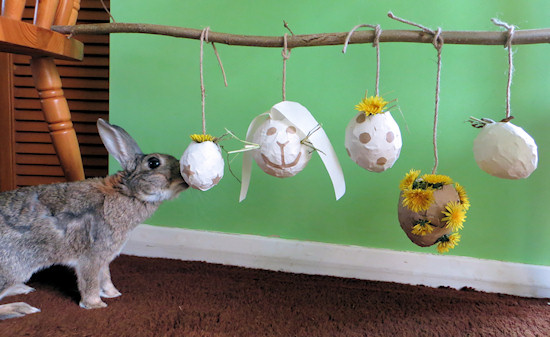
I thought the plain white pinata looked a bit boring, so I thought I’d experiment a little. I cut some shapes from brown paper and applied them the same way as the original strips. I’m not sure how much Scamp will appreciate my creativity … do you see a likeness?
Step 8 – Remove Balloon
Once your pinatas are completely dry, you need to remove the balloon. To do this puncture the balloon with something sharp (I just snipped the knot with scissors). Don’t worry, it won’t make a big pop if it’s not blown up very far. Once the air has escaped the balloon should pull out easily.
Step 9 – Fill with something tasty
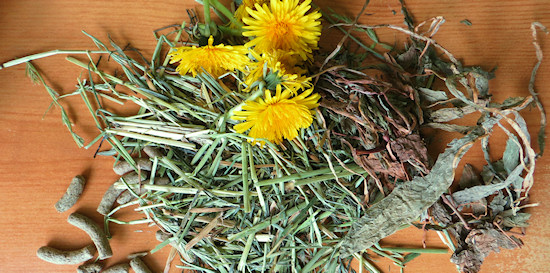
You can now fill it with something tasty! There are lots of options, some lovely hay, dry herbs or pellet food. Avoid fresh veggies as the damp isn’t a good combination with papier mache. Some homemade treats would work well too.
Step 10 – Hang (Optional)
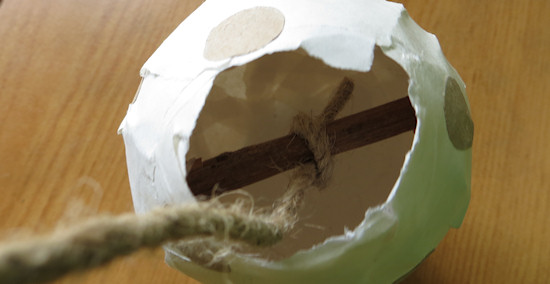
You can give your pinata to your bunny to play with on the floor, but hanging them up makes things even more interesting. Use sisal or similar rabbit safe string and thread it through a hole in the pinata with a stick to stop it pulling back through.
The Results
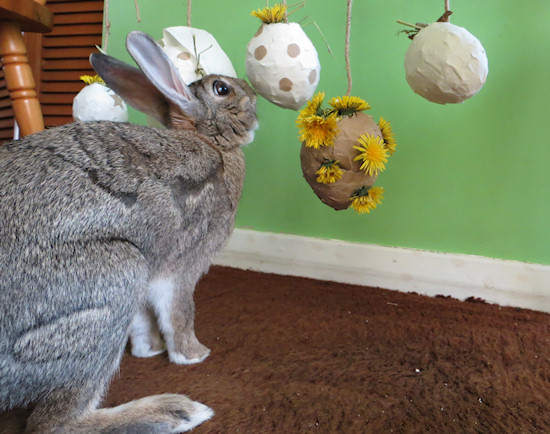
After all that hard work it’s now time to let your bunny loose on them!
Scamp was being very good, he only left a few teeth marks whilst I took photos, but fun was had and they were shredded a couple of hours later for their tasty filling!
If you have a go I’d love to see pictures or hear what your bunny thought. You can leave a comment below or reach me via facebook or twitter.
Tags: rabbit-enrichment, rabbit-toys, Scamp


So much magic! I wish I was Scamp 😀 <3
How cute and easy…wonder if I could make a Pinatas for dogs?
I don’t see why not, maybe blow the balloon up full to make it bigger and add a few extra layers of paper to make it tougher. You could then fill it with shredded paper and some treats 🙂
Love this idea. I think I will be doing this at the week with the kids for our 2 rabbits.
Hi Tamsin
Love the pinata toy idea Tamsin! Would you allow Bunny mad magazine to reprint it? We will of course credit you and also mention your book. If so please email the high res photos to me,
Best wishes lisa and the buns
Haha, you always have the greatest ideas for toys! Still wating for that e-book of yours with toys and activities 😉
Can I speed up the drying process with a hair dryer? :))
I would think that would work. Another thing you can do, if you’ve got nice weather, is to tie a big of string around the knot in the balloon and hang them outside to dry in the sunshine. If you stick with thin layers it will probably dry in a couple of hours.