I wonder how many thousands of bunny owners wake up on a Saturday morning, mow their lawn, throw away or compost the clippings, and then pop into the pet shop and tut over the price of hay, that in some cases has been shipped half way around the world. Now the obvious thing would be just to cut a section of grass (with scissors not a mower) and feed that direct to your bunnies, but that isn’t always practical. Some people don’t like to feed fresh grass to buns with sensitive tums, and it’s handy to have a good pile of hay in the litter tray even if you’re topping up with grass at dinner time too. So the next option is to take the lovely fresh grass and dry it so it turns into hay! So, that’s what I did….
Making Hay Step 1: Find Grass
The first step is to find some grass. If you lovingly mow your lawn weekly, you might want to skip a week to let it grow out a bit. We may have taken that to the extreme as our lawn looked something like this:
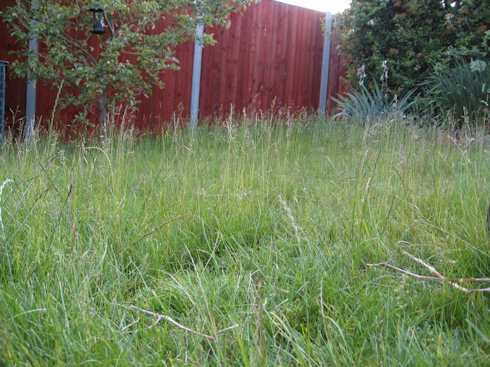
Which was the inspiration for making hay in the first place. If you don’t have a lawn, you could try asking your neighbours – offer to ‘cut’ their grass in exchange for keeping the clippings. Just make sure they don’t use any weedkiller/pesticides.
Making Hay Step 2: Cut the Grass
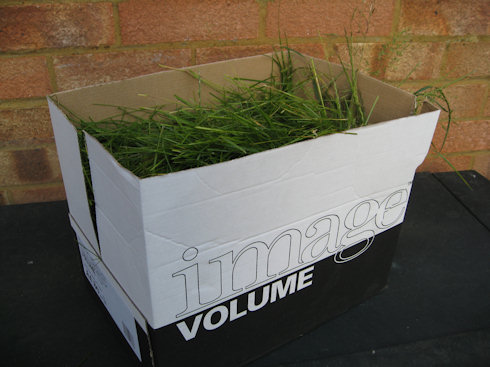
Once you have located your patch of grass, next you need to cut it. It’s important not to use a lawn mower for this. Mowers chop up the grass and crush it which encourages it to begin fermenting. This is great if you want to compost it but no good for feeding to rabbits. If you’re cutting a big patch you could use scythe (don’t chop off any body parts) but I went for scissors; big hedge scissors would be quicker than kitchen ones if you’re cutting a lot. I filling up this A4 paper box in about a minute… it doesn’t take long.
Making Hay Step 3: Drying the Grass
Next is the difficult part, the grass needs to dry out (and turn into hay). There are a few options for this. You could leave the grass where you cut it and turn it a few times to help it dry. The trouble with that is you are at the mercy of the weather. If your grass keeps getting soaked it will turn into a soggy mess instead of hay. It also means your lawn is covered in grass cuttings.
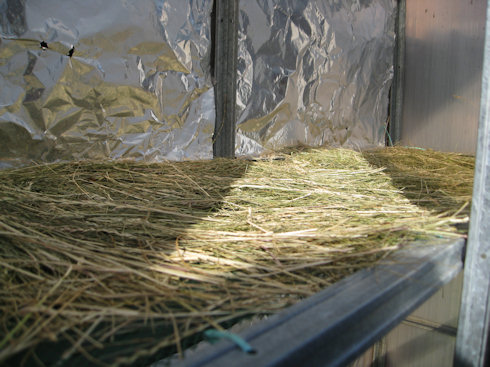
It was raining almost every day when I started so I decided to pop it in my mini greenhouse now the seedlings are mostly outside. It’s important the air gets to it so I made a shelf out of some plastic mesh and left the doors open (a closed greenhouse would get too humid). Note: The foil isn’t part of hay making, it just helps my seedlings grow straight as the greenhouse sits against a wall.
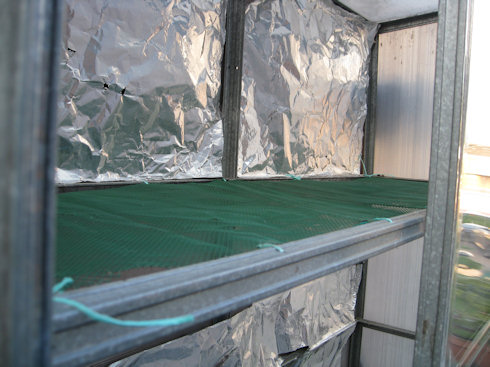
You could also use a covered deck, greenhouse, shed with windows etc. or you could lay it out on a sheet and just pick it up in the sheet when rain is forecast and pop it out afterwards. The top of a wire rabbit run would be great if the weather is a bit drier.
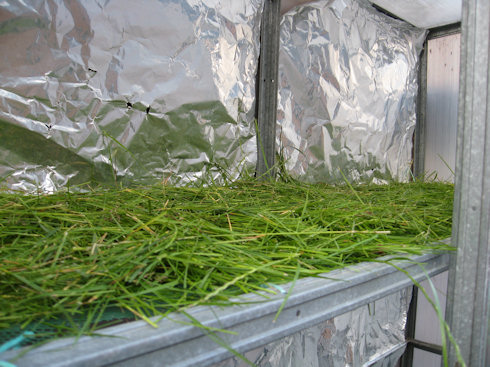
Here is my grass all laid out ready to dry.
Making Hay Step 4: Wait
That’s it for the hard work, now you just need to wait for it to dry. It didn’t take long like this. In two weeks it smelt and looked like tasty hay.
Once it has dried out you can store it like you would normal hay. Something that breaths (like a Hessian bag or pillow case would be best) just in case there is any moisture left. If you leave it out in the sun it will loose the hint of green and go golden brown (still edible but less nutrients).
Making Hay Step 4: Taste Test
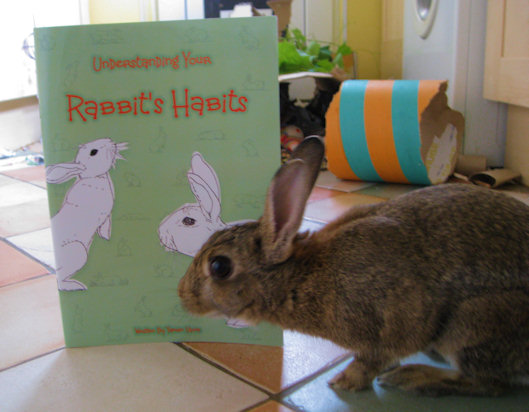
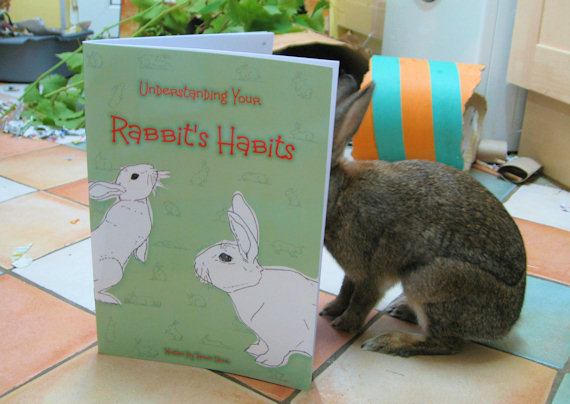
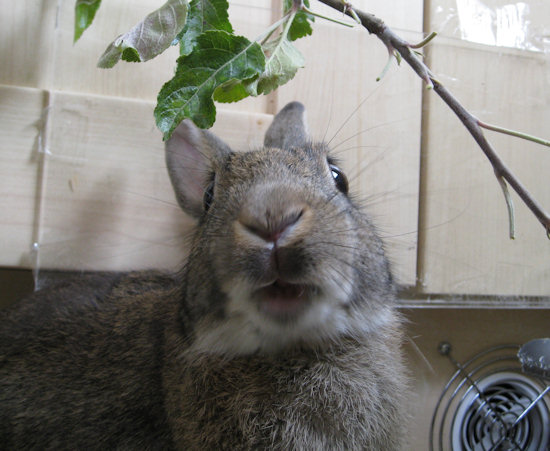
The whole point of making hay is producing something tasty for a bunny to eat, so the process wouldn’t be complete without a taste test.
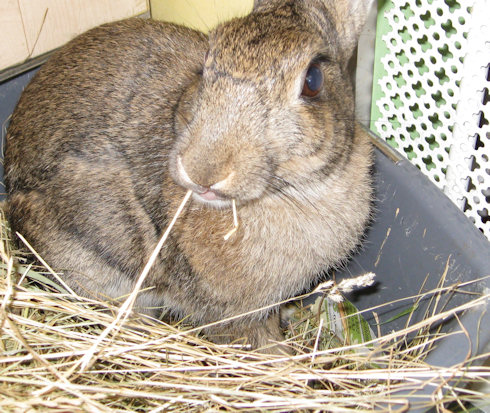
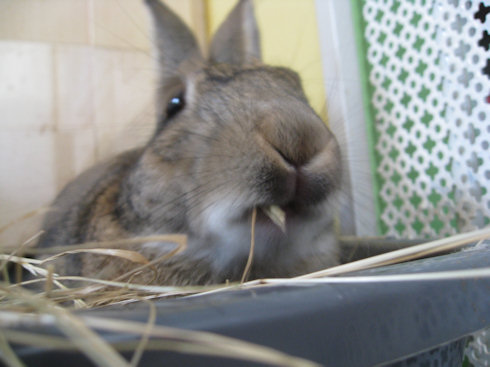
I think it passed!
Conclusion
Okay, so I’m probably not going to make enough hay from our little patch of lawn to supply hay all your around, but it’s a fun experiment and certainly worth the effort if you want to cut down on your expenses, be more environmentally friendly, or just provide an extra treat.
